


Hey there! As a supplier of thin stone slabs, I've seen my fair share of installation projects, and one of the most crucial steps that often trips people up is leveling these slabs. It's not just about making things look pretty; a well-leveled thin stone slab installation ensures durability and a professional finish. So, let's dive into how you can level thin stone slabs during installation.
Pre - Installation Preparation
Before you even start putting those thin stone slabs in place, you need to do some groundwork. First off, you've got to check the surface where you're going to install the slabs. Whether it's an exterior wall or an interior surface, it should be clean, dry, and flat. Any bumps, cracks, or debris can mess up the leveling process big time.
If you're dealing with an exterior wall, you might want to take a look at our Thin Stone Cladding for Exterior Walls. These are specifically designed to withstand the elements while giving your building a stylish look. For interior projects, our Interior Stone Veneer Panels are a great choice, and they need a proper base for a seamless installation.
Once the surface is prepped, measure it carefully. Use a long straightedge and a level to identify any high or low spots. Mark these areas so you know exactly where you need to make adjustments. You can use a chalk line to create a reference point for the top edge of the first row of slabs. This will help you keep everything in line as you work.
Choosing the Right Adhesive
The adhesive you use is super important when it comes to leveling thin stone slabs. It needs to have good bonding strength and be able to fill in small gaps to help with leveling. There are different types of adhesives available, like mortar and epoxy. Mortar is a common choice for stone slab installation, but it can take a bit of time to set. Epoxy, on the other hand, sets faster and has a high bonding strength.
When applying the adhesive, make sure you spread it evenly on the surface. Use a notched trowel to create ridges in the adhesive. These ridges will help the stone slab adhere better and also allow for some adjustment during the leveling process. Don't apply too much adhesive, as it can squeeze out from the sides of the slab and make a mess.
Installing the First Row
The first row of thin stone slabs sets the foundation for the rest of the installation. Start by placing the slabs along the chalk line you created earlier. Use a level to check if the slabs are perfectly horizontal. If they're not, you can use shims to raise or lower the slabs until they're level. Shims are small, thin pieces of material that you can place under the slabs to make adjustments.
Once the first slab is in place and level, apply more adhesive to the back of the next slab and press it against the first one. Make sure there's a small gap between the slabs for grout. Use a spacer to maintain a consistent gap size. Keep repeating this process until the first row is complete. Check the level of the entire row again to make sure everything is still straight.

Working Your Way Up
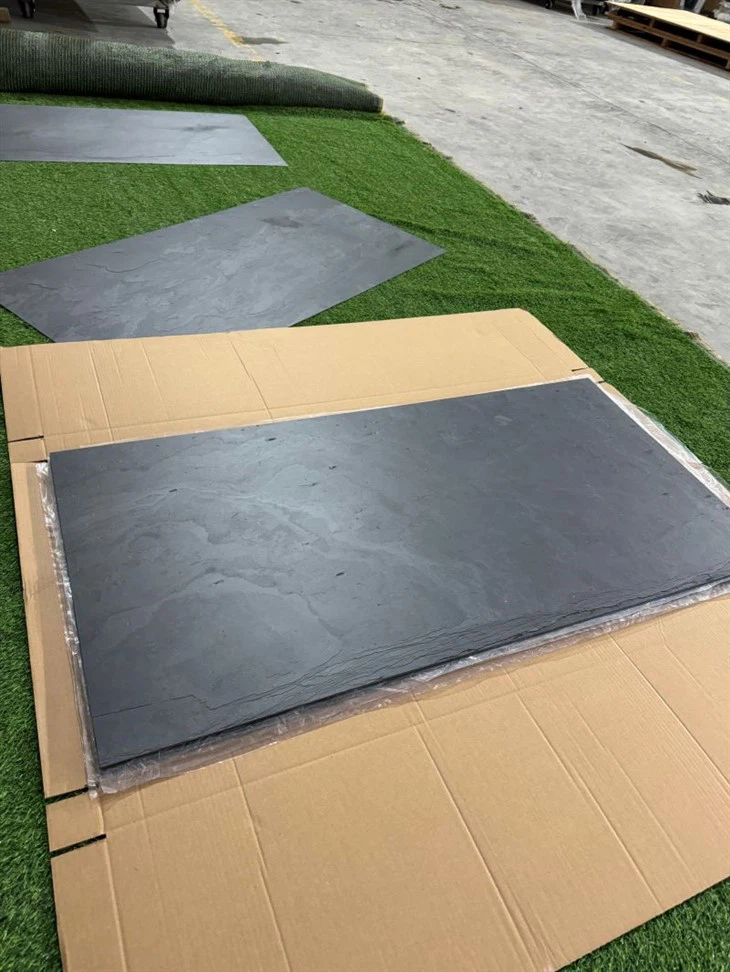
After the first row is installed and leveled, it's time to move on to the next rows. When installing the subsequent rows, you need to make sure they're level both horizontally and vertically. Use a plumb line to check the vertical alignment. A plumb line is a weighted string that hangs straight down, giving you a perfect vertical reference.
As you stack the rows, keep an eye on the joints between the slabs. They should be consistent in width and alignment. If you notice any unevenness, you can use a rubber mallet to gently tap the slabs into place. But be careful not to hit too hard, as thin stone slabs can crack easily.
Dealing with Corners and Edges
Corners and edges are often the trickiest parts of the installation. When you reach a corner, you'll need to cut the slabs to fit. Use a wet saw or a tile cutter to make clean, precise cuts. Make sure the cut pieces are level with the adjacent slabs.
For edges, you can use bullnose or quarter - round stone pieces to give a finished look. These pieces are designed to cover the sharp edges of the thin stone slabs. Just like with the regular slabs, make sure they're properly leveled and adhered.
Using a Laser Level
A laser level can be a game - changer when it comes to leveling thin stone slabs. It projects a straight, horizontal or vertical line onto the surface, giving you an accurate reference point. You can use it to check the level of multiple slabs at once, which saves a lot of time and effort.
Set up the laser level at the beginning of the installation and make sure it's properly calibrated. Use it to align the top and bottom edges of the slabs, as well as the vertical joints. This will help you achieve a professional - looking finish with minimal errors.
Final Checks and Grouting
Once all the thin stone slabs are installed and you think they're level, do a final check. Walk around the installation area and look at it from different angles. Use a level one more time to double - check the horizontal and vertical alignment.
If everything looks good, it's time to grout the joints. Grout not only fills in the gaps between the slabs but also helps to hold them in place. Mix the grout according to the manufacturer's instructions and use a grout float to apply it to the joints. Make sure to remove any excess grout before it dries.
Why Leveling Matters
Leveling thin stone slabs isn't just about aesthetics. A level installation ensures that the weight of the slabs is evenly distributed, which reduces the risk of cracking or shifting over time. It also makes the surface safer to walk on or use, especially in areas where people will be moving around.
In addition, a well - leveled installation enhances the overall appearance of the space. Whether it's an exterior wall or an interior feature, level slabs create a smooth, polished look that adds value to your property.
Contact Us for Your Thin Stone Slab Needs
If you're planning a thin stone slab installation project, we've got you covered. As a leading supplier of high - quality thin stone slabs, we offer a wide range of options, including Natural Slate Veneer For Walls. Our products are sourced from the best quarries and are designed to meet your specific requirements.
If you have any questions about our products or need advice on installation, don't hesitate to reach out. We're here to help you make your project a success. Whether you're a DIY enthusiast or a professional contractor, we can provide you with the right thin stone slabs and support you need.
References
- Stone Masonry Handbook
- Installation Guide for Thin Stone Veneer Products


