Installing a thin slate can be a rewarding project that adds a touch of natural beauty and sophistication to your space. As a leading thin slate supplier, I'm here to guide you through the process, sharing expert tips and best practices to ensure a successful installation.
Preparation
Before you begin the installation process, it's crucial to prepare the work area and gather all the necessary tools and materials. Here's what you'll need:
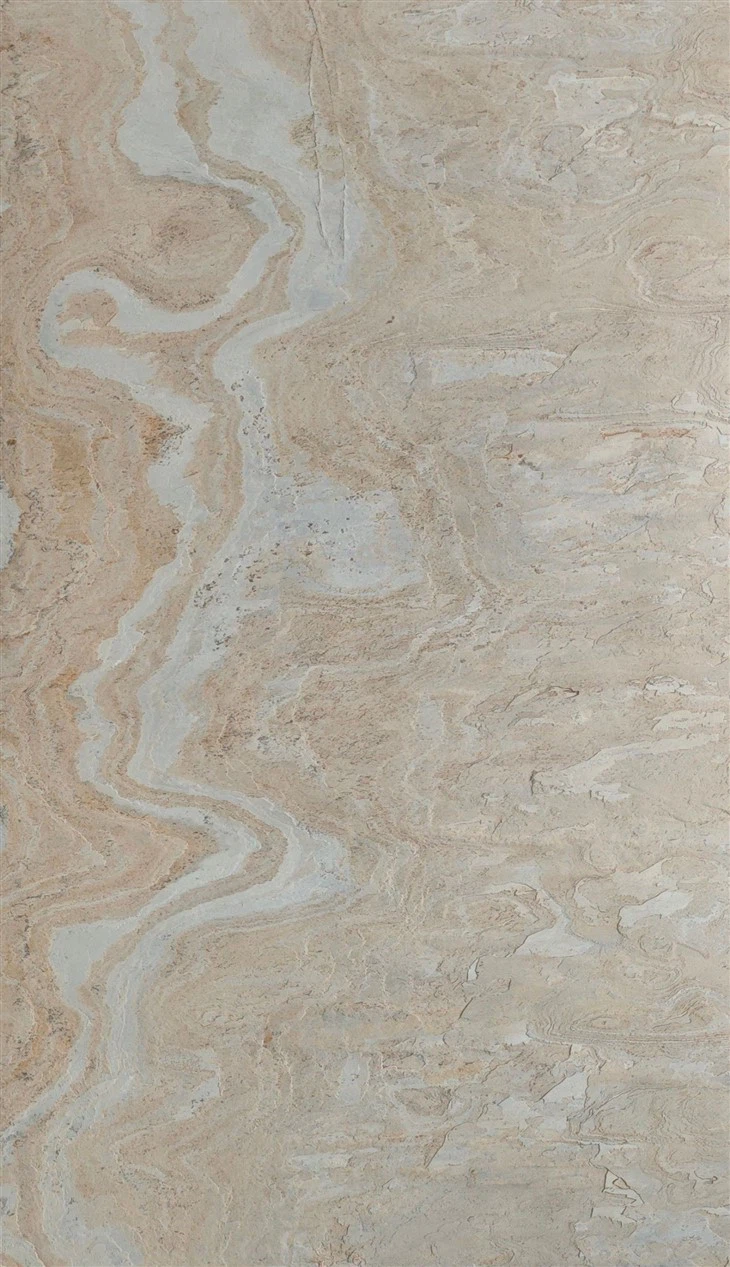
- Thin Slate Tiles: Choose high-quality thin slate tiles that suit your design preferences and project requirements. Our Natural Ultra Thin Stone Veneer offers a wide range of colors and textures to enhance the aesthetic appeal of your space.
- Adhesive: Select a suitable adhesive for thin slate installation. Make sure it is specifically formulated for use with stone veneers and provides strong bonding strength.
- Notched Trowel: A notched trowel is used to apply the adhesive evenly on the surface. Choose a trowel with the appropriate notch size based on the thickness of the thin slate tiles.
- Grout: Grout is used to fill the joints between the thin slate tiles, providing a finished look and preventing moisture penetration. Select a grout color that complements the color of the slate tiles.
- Grout Float: A grout float is used to apply the grout and smooth it over the joints.
- Spacers: Spacers are used to maintain consistent joint widths between the thin slate tiles. Choose spacers with the desired thickness based on your design preferences.
- Level: A level is used to ensure that the thin slate tiles are installed straight and level.
- Utility Knife: A utility knife is used to cut the thin slate tiles to the desired size and shape.
- Safety Equipment: Wear safety goggles, gloves, and a dust mask to protect yourself from dust and debris during the installation process.
Surface Preparation
Proper surface preparation is essential for a successful thin slate installation. Follow these steps to prepare the surface:
- Clean the Surface: Remove any dirt, dust, grease, or other contaminants from the surface using a mild detergent and water. Rinse the surface thoroughly and allow it to dry completely.
- Repair Any Damage: Inspect the surface for any cracks, holes, or other damage. Repair any damage using a suitable patching compound and allow it to dry completely.
- Prime the Surface: Apply a primer to the surface to improve the adhesion of the adhesive. Follow the manufacturer's instructions for applying the primer and allow it to dry completely.
Installation Process
Once the surface is prepared, you can begin the thin slate installation process. Follow these steps:

- Layout the Tiles: Dry-lay the thin slate tiles on the surface to determine the layout and ensure that the tiles fit properly. Make any necessary adjustments to the layout before proceeding with the installation.
- Apply the Adhesive: Using a notched trowel, apply a thin layer of adhesive to the surface. Make sure the adhesive is evenly distributed and covers the entire area where the thin slate tiles will be installed.
- Install the Tiles: Place the thin slate tiles on the adhesive, starting from the bottom corner and working your way up. Press the tiles firmly into the adhesive, using a level to ensure that they are straight and level. Use spacers to maintain consistent joint widths between the tiles.
- Cut the Tiles: Use a utility knife to cut the thin slate tiles to the desired size and shape. Make sure to wear safety goggles and gloves when cutting the tiles to protect yourself from dust and debris.
- Continue Installing the Tiles: Continue installing the thin slate tiles, working in small sections at a time. Make sure to leave a small gap around the edges of the surface to allow for expansion and contraction of the tiles.
- Allow the Adhesive to Dry: Allow the adhesive to dry completely according to the manufacturer's instructions. This usually takes 24 to 48 hours.
- Apply the Grout: Once the adhesive is dry, use a grout float to apply the grout to the joints between the thin slate tiles. Make sure to fill the joints completely and smooth the grout over the surface.
- Clean the Tiles: Use a damp sponge to clean the excess grout from the surface of the thin slate tiles. Make sure to clean the tiles thoroughly to remove all traces of grout.
- Allow the Grout to Cure: Allow the grout to cure completely according to the manufacturer's instructions. This usually takes 24 to 48 hours.
Maintenance
Proper maintenance is essential to keep your thin slate installation looking its best. Follow these tips to maintain your thin slate installation:
- Clean the Tiles Regularly: Use a mild detergent and water to clean the thin slate tiles regularly. Avoid using abrasive cleaners or scrubbers, as they can damage the surface of the tiles.
- Seal the Tiles: Apply a sealer to the thin slate tiles to protect them from stains and moisture. Follow the manufacturer's instructions for applying the sealer and reapply it as needed.
- Avoid Standing Water: Avoid allowing standing water to accumulate on the surface of the thin slate tiles, as it can cause damage to the tiles and the grout.
- Repair Any Damage: If you notice any cracks, chips, or other damage to the thin slate tiles or the grout, repair it as soon as possible to prevent further damage.
Conclusion
Installing a thin slate can be a challenging but rewarding project that adds a touch of natural beauty and sophistication to your space. By following these steps and tips, you can ensure a successful installation and enjoy your thin slate installation for years to come. If you have any questions or need further assistance with your thin slate installation, please don't hesitate to contact us. We're here to help you every step of the way.
As a trusted thin slate supplier, we offer a wide range of high-quality thin slate products, including Thin Stone Veneer for Interior Walls and Bendable Stone Veneer. Our products are designed to meet the highest standards of quality and durability, and we're committed to providing our customers with the best possible service and support.
If you're interested in purchasing our thin slate products or have any questions about our installation services, please contact us today. We'd be happy to discuss your project requirements and provide you with a free quote.
References
- "Stone Veneer Installation Guide." National Association of Home Builders.
- "Thin Stone Veneer Installation." The Concrete Network.
- "How to Install Thin Stone Veneer." This Old House.


